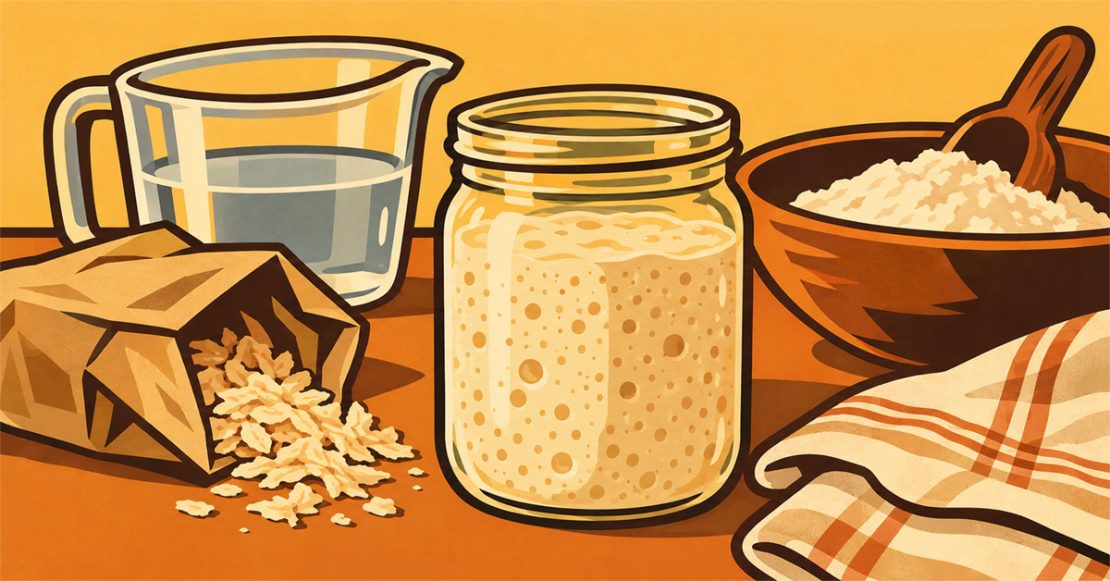




Your starter came to you dried so it could travel. It is alive, just resting. Over about five days you will wake it up with water, flour, and a warm spot on the counter. This post walks through each day and what to look for along the way.
If you would rather have a sheet to print and keep by the jar, the same schedule is available as a download with room to log times, temperatures, and notes.
What you will need
- One packet of Revival Mill dried starter (1 oz, 28g)
- Freshly milled whole wheat flour
- Warm water, around 80°F
- A clean glass jar, pint size or larger
- A kitchen scale
- A spoon or small spatula for stirring
- A loose cover for the jar, like a cloth or a lid set on top without screwing it down
A scale makes this much easier. Volume measurements are listed below, but fresh flour is light and fluffy, so cups and spoons are only a close guess. If you have a scale, use it.
A few things about fresh milled flour
Most starter instructions are written for store bought flour. Fresh milled flour behaves a little differently, and knowing that ahead of time will save you some worry.
It drinks water
Fresh flour still has all of its bran and germ, and it absorbs water quickly. A 1:1:1 mix (equal weights of starter, water, and flour) will look more like a stiff paste than a batter at first. That is normal. If it is too dry to stir, add 1 teaspoon of water and mix again.
Weight and volume do not line up
Because fresh flour is fluffy, the same weight takes up more room. To keep equal weights of flour and water, you will use roughly twice as much flour as water by volume. It looks wrong in the spoon, but it is right on the scale.
Warmth matters
Keep the jar somewhere between 75°F and 80°F (24°C to 27°C). The wild yeast and bacteria in your starter are dormant, and warmth is what gets them moving. The top of the refrigerator, a spot near (not on) the oven, or an oven with only the light turned on all work well. A cool kitchen will not ruin anything, it will just slow things down by a day or two.
The schedule at a glance
| Day | What to do | Starter | Water | Flour |
|---|---|---|---|---|
| Day 1, Step 1 | Dissolve and rest 2 hours | 28g dried | 28g (2 tbsp) | None |
| Day 1, Step 2 | First feeding, rest 24 hours | Keep all | 28g (2 tbsp) | 28g (¼ cup) |
| Day 2 | Second feeding, no discard | Keep all | 56g (¼ cup) | 56g (½ cup) |
| Day 3 | First discard and feed | Keep 50g | 50g (3½ tbsp) | 50g (scant ½ cup) |
| Day 4 | Discard and feed | Keep 50g | 50g (3½ tbsp) | 50g (scant ½ cup) |
| Day 5 | Discard and feed | Keep 50g | 50g (3½ tbsp) | 50g (scant ½ cup) |
Day by day
Day 1, Step 1: Dissolve
Put 28g of dried starter in your jar and add 28g (2 tablespoons) of warm water. Stir until the flakes are wet, then let it sit for 2 hours. The flakes will soften into a paste. Give it a stir once or twice if you think of it.
Day 1, Step 2: First feeding
Stir in 28g (¼ cup) of fresh milled flour and 28g (¼ cup) of warm water. It will be thick. Scrape down the sides of the jar, cover it loosely, and leave it alone for 24 hours. Do not expect much today. The starter is still getting its bearings.
Day 2: Second feeding
Do not discard anything yet. Add 56g (¼ cup) of warm water and 56g (½ cup) of fresh flour to everything in the jar. Stir well, scrape down the sides, and cover loosely.
Before you feed, put a rubber band or a piece of tape around the jar at the level of the starter. Starting today, that mark is how you will see whether it is rising.
Day 3: First discard
Now you start discarding. Set an empty bowl on your scale, scoop starter out of the jar until only 50g is left, and set the rest aside. Feed the 50g in the jar with 50g of water and 50g of flour. Stir, mark the level, and cover loosely.
Discarding keeps the jar from overflowing and keeps the ratio of food to starter where it needs to be. Without it, the yeast never gets enough fresh flour to really take off.
Day 4: Keep going
Same routine. Discard down to 50g and feed 50g of water and 50g of flour. You should start seeing bubbles on the sides of the jar and some rise above your mark.
Day 5: Watch for doubling
Same routine again. By now your starter should be close to doubling within several hours of a feeding. Write down how high it gets and how long it takes. If it is not there yet, keep feeding on the same schedule. It will get there.
What to look for
The log has three boxes to check each day. Here is what each one means.
| Sign | What it tells you |
|---|---|
| Bubbles | The yeast is eating and making gas. Look on the sides and bottom of the jar, not just the top. |
| Sour smell | The bacteria are working. A pleasant tang, like yogurt or mild vinegar, is what you want. |
| Rise | How much it grows after a feeding. Compare the peak to your rubber band. Twice the height is 2x. |
When things look off
No bubbles after Day 3
Check the temperature first. Most slow starters are just cold. Move the jar somewhere warmer and keep feeding on schedule.
A layer of liquid on top
That gray or brown liquid is called hooch. It means the starter is hungry. Stir it back in or pour it off, then feed as usual. Pouring it off will give you a milder flavor.
A big rise early, then nothing
This is common around Day 2 or 3. An early burst of activity often fades before the yeast settles in. Keep feeding. Steady rise comes back.
A strong or strange smell
Smells like nail polish remover, cheese, or gym socks show up in young starters and usually fade with regular feeding. Pink, orange, or fuzzy spots are different. That is mold, and the starter should be thrown out.
How to tell it is ready
Your starter is ready to bake with when it doubles within 4 to 8 hours after a feeding, two days in a row. It should look domed and full of bubbles at its peak and smell pleasantly sour. That may happen on Day 5, or it may take a few more days. Both are fine.
After it is awake
If you bake often, keep it on the counter and feed it once a day with the same 50g, 50g, 50g routine. If you bake once a week or so, feed it, let it sit an hour, and put it in the refrigerator. Take it out the day before you bake and give it a feeding or two to bring it back up to strength.
Do not throw out all that discard. It works well in pancakes, crackers, and biscuits, and it keeps in a jar in the refrigerator for about a week.
Download the Rehydration Log (PDF)
Life is short. Make good bread.


